Home
Services
Products
Projects
Who We Are
Blogs
Contact Us
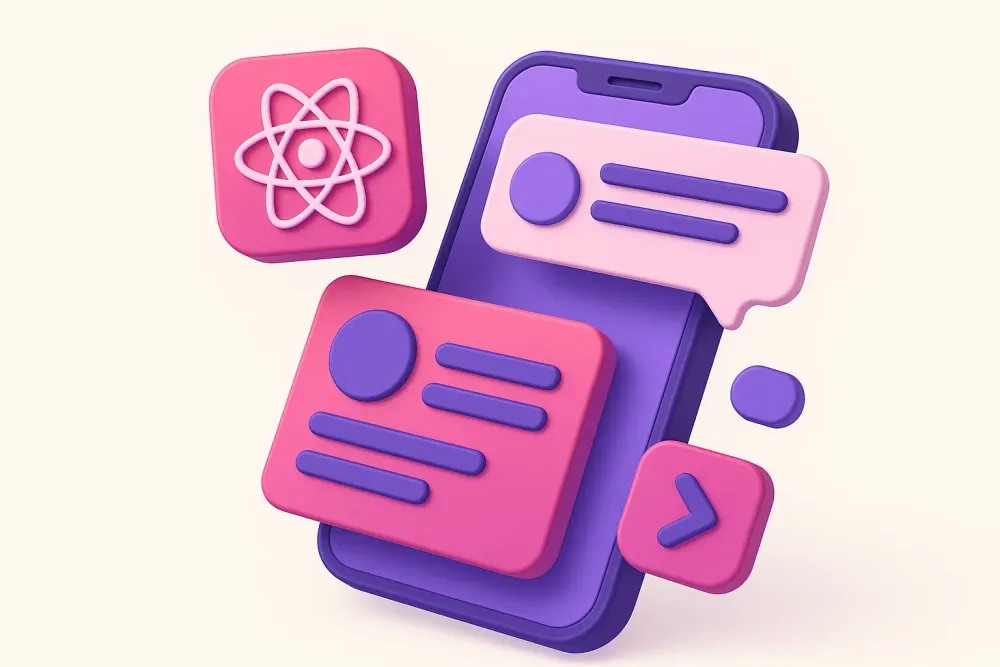
Streamlining UI Design in React Native for Enhanced Mobile Experiences
Building Cross-Platform Mobile UIs with React Native
Building cross-platform mobile applications that offer exceptional User Interfaces (UI) and User Experiences (UX) is a crucial challenge for businesses today. React Native emerges as a powerful solution, enabling developers to create engaging native-like apps using JavaScript for both Android and iOS. This approach significantly streamlines development, allowing teams to write code once and deploy it across multiple platforms.
UI Design Considerations for Mobile Apps
Designing UI for mobile applications presents unique complexities compared to web applications due to several factors:
- Limited Screen Real Estate: Mobile devices have constrained screen sizes, demanding efficient use of space and thoughtful information architecture.
- Device Diversity: Smartphones and tablets vary significantly in screen dimensions, resolutions, and aspect ratios, requiring UI designs to adapt seamlessly.
- Platform-Specific Standards: Android and iOS have distinct design guidelines and UI conventions that developers must adhere to for a native look and feel. React Native simplifies this by providing platform-specific components and styling options.
React Native addresses these challenges by offering a unified platform for UI development, allowing code reusability across iOS and Android.
Designing UI in React Native
React Native's component-based architecture simplifies UI development. Let's consider a simple button component: It consists of a caption ("Awesome Button") within a styled container (a blue box with rounded corners). In React Native, the container is typically a TouchableOpacity component, and the caption is a Text component.
class Button extends React.Component {
  render() {
    return (
      <TouchableOpacity
        style={{backgroundColor: "blue", padding: 20, borderRadius: 50}}
      >
        <Text style={{color: "white", fontSize: 20}}>
          {this.props.title}
        </Text>
      </TouchableOpacity>
    );
  }
}
Styles can be declared separately for better organization and reusability:
const styles = StyleSheet.create({
  box: {
    backgroundColor: "blue",
    padding: 20,
    borderRadius: 50
  },
  text: {
    color: "white",
    fontSize: 20
  }
});

class Button extends React.Component {
  render() {
    return (
      <TouchableOpacity style={styles.box}>
        <Text style={styles.text}>{this.props.title}</Text>
      </TouchableOpacity>
    );
  }
}
Constructing a Complete UI
A typical mobile screen comprises three main sections: header, content area, and footer. React Native provides components like View for structuring these sections. ScrollView is used for scrollable content areas.
class App extends React.Component {
  render() {
    return (
      <View>
        <View>Header</View> {/* Header */}
        <ScrollView>Content Area</ScrollView> {/* Content Area */}
        <View>I am the footer</View> {/* Footer */}
      </View>
    );
  }
}
Leveraging Flexbox for Responsive Layouts
Flexbox is essential for creating responsive and adaptable layouts in React Native. It allows you to control the alignment and distribution of components within a container. Key properties include:
flexDirection: Determines the primary axis (row or column) for arranging components.justifyContent: Controls the distribution of components along the primary axis (e.g., flex-start, center, space-between).alignItems: Manages the alignment of components along the secondary axis.
Conclusion
Building UI in React Native follows principles similar to web development, with the added advantage of native performance and platform-specific styling. Flexbox is crucial for crafting responsive layouts, and third-party libraries like NativeBase can further accelerate development. By leveraging these tools and understanding the nuances of mobile UI design, DEFX empowers businesses to create high-quality, engaging mobile experiences.
See More
Contact Us
Let’s make your Idea into Reality
Let's Talk
© Copyright DEFX. All Rights Reserved
GoodFirms ★ 4.2
Clutch ★ 4.2
Google ★ 4.2